Tutorial - Local Deployments with Docker
Introduction
This tutorial will guide you to deploy the LAMP application
locally, with Docker.
As a reminder, this application was used in the
Getting started with Roboconf tutorial.
It is assumed here that you followed this previous tutorial.
You are thus familiar with the DM’s installation and configuration.
You will also use RabbitMQ instead of the Roboconf HTTP messaging.
Docker Installation
First, install Docker on your machine.
The overall idea of this tutorial, is that Roboconf will create local Docker
containers instead of virtual machines. Roboconf agents will be running inside these containers
and perform the deployment and the configuration of the LAMP application.
This is one of the possible combinations of Roboconf and Docker.
RabbitMQ Installation
Now, install RabbitMQ by following the user guide.
You can also use www.cloudamqp.com with a free account.
Notice that the HTTP messaging also works with local Docker containers.
The only thing to do is to set the IP address of the DM to 172.17.0.1 (172.17.42.1 in former Docker versions) in the etc/net.roboconf.messaging.http.cfg file.
DM Configuration
To activate this Docker mode in the DM, you need to install the Docker target.
In the DM’s shell, type in roboconf:target docker. This will install the required bundles in the DM.
Now, you also need to indicate Roboconf you are going to use RabbitMQ.
Under Roboconf’s etc directory, edit the net.roboconf.messaging.rabbitmq.cfg file. Indicate the location of the server and the
credentials to log in. Then, edit the net.roboconf.dm.configuration.cfg file and set the messaging-type to rabbitmq.
All of this can be done without stopping or restarting the DM.
Modifying the configuration files will result in a live reconfiguration of Roboconf.
Creating the Application
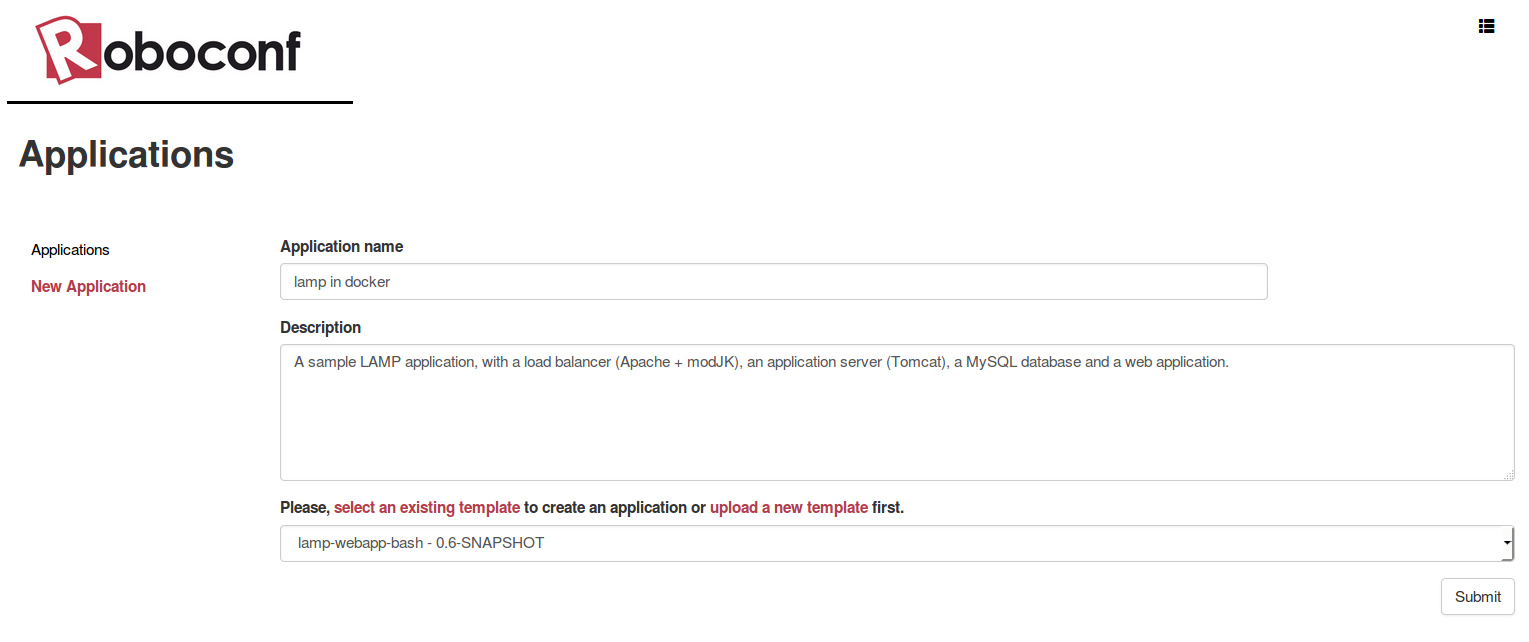
If you followed the Getting started tutorial, you already uploaded an application template (ZIP file) and created an application from it. Now, create a new application from an existing template.

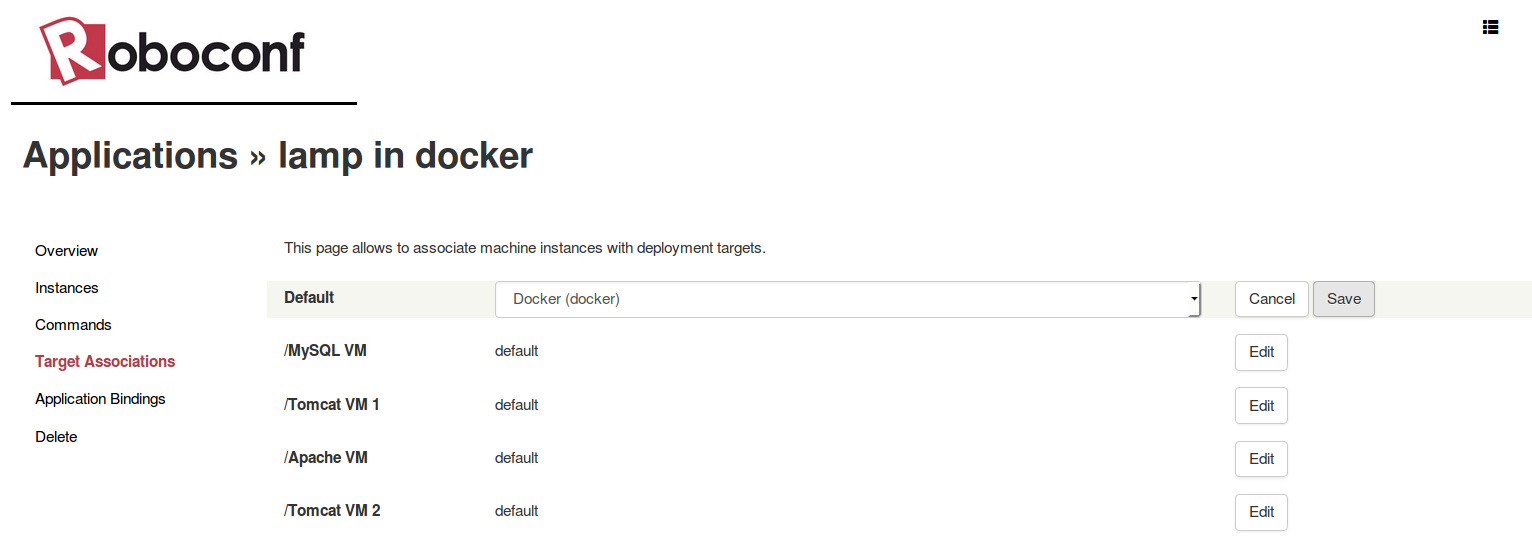
Go into the application targets sub-menu, and set the default target to docker.

Click the target to see the Docker parameters.
The following configuration…
handler = docker
name = Docker
description = Run agents and deployments in local Docker containers.

docker.image = demo_roboconf_demo
docker.generate.image = true
docker.option.run.cap-add = SYS_PTRACE
… means we will run our containers from an image called demo_roboconf_demo and that this image will be generated. Nothing is specified about the base image, so it means it will be created from the Docker ubuntu:latest image. Nothing is specified either about the Roboconf agent that will be installed on it. Again, default settings mean a Docker agent package (as well as a JDK) will be downloaded when the image is created. Eventually, we specify that containers created from this image will be run with the SYS_PTRACE option.
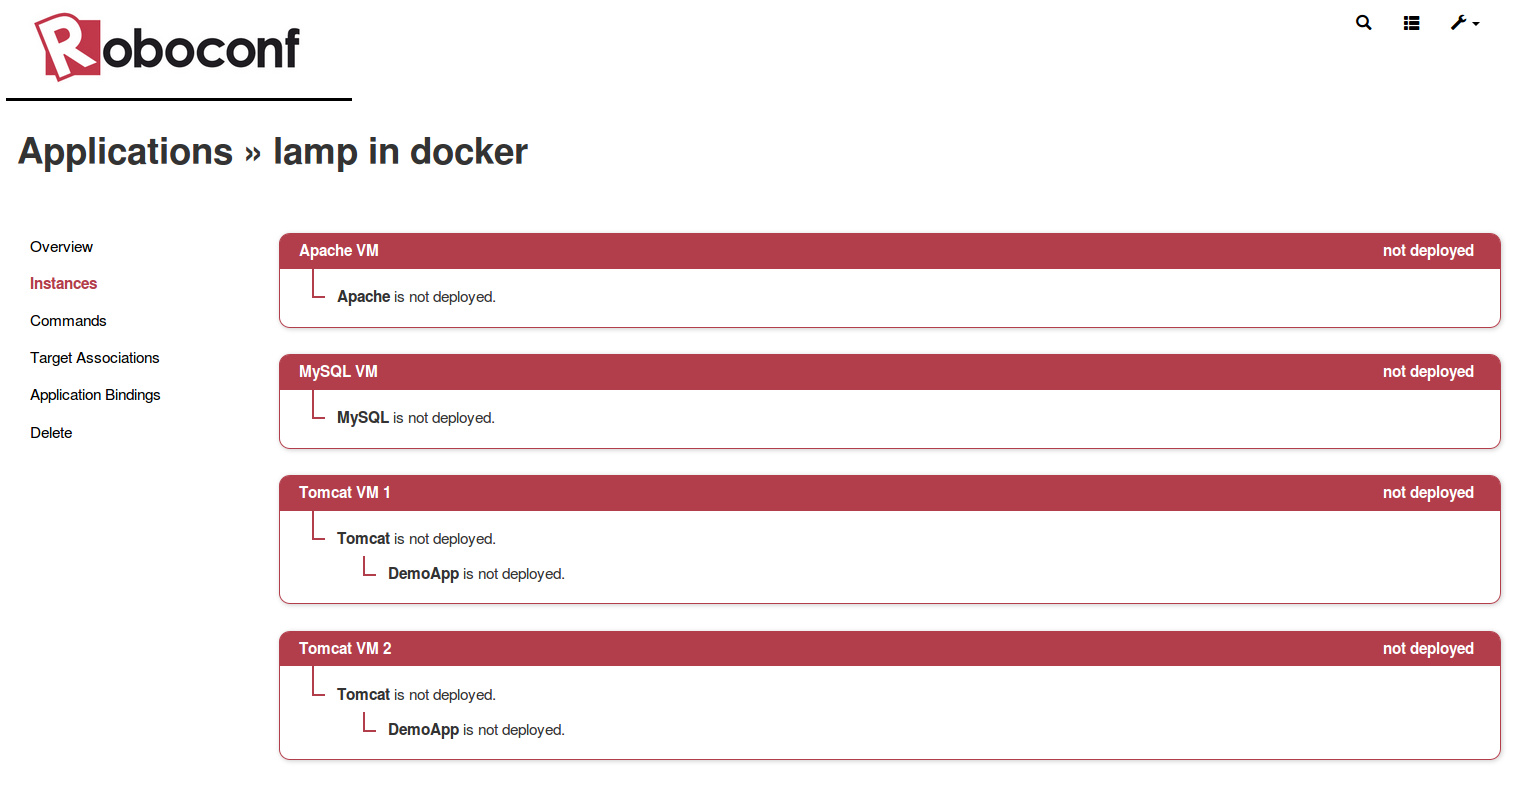
Now, go into the instances sub-menu and click deploy all (in the top-right menu).

This may take few minutes since the image creation requires to download a JDK and a Roboconf agent package. Once the image is created (docker images),
it should not take long before the containers are created and that everything appears as deployed and started in the Roboconf console. You can verify
containers are started with the docker ps command.
The deployed application can be seen running in your web browser.
Find the IP address of the load balancer (in the web console) and type it in your web browser. The web application should appear.
If you deployed two instances of the web application, refresh the page several times and verify that the requests are correctly balanced.
Click to show how it works behind…
The given configuration generates a Docker image with a JDK and a Roboconf agent.
When the DM boots a Docker container from this image, it also passes it arguments that will be used by the agent
(mainly, which part of the application this agent must deal with, how to contact the DM, which messaging, which
credentials, etc). And the agent boots with the container.
Then, the agent can directly interact with the DM (here, through RabbitMQ).
Unlike what we saw with the in-memory mode, recipes are executed for real by the Roboconf agents.
So, they really deploy and configure applications within Docker containers. This mode allows to replace
virtual machines by Docker containers, which can be convenient for local tests.
Conclusion
Congratulations, you have now performed a real application deployment.
You also reconfigured the DM and got introduced to RabbitMQ.
You can now try a real deployment in a cloud infrastructure with Roboconf.