Tutorial - Getting Started with Roboconf
Introduction
This tutorial aims at introducing the basis to work with Roboconf.
It will help you to…
- … install Roboconf’s administration, the DM (Deployment Manager).
- … learn the basis to manage Roboconf.
- … simulate the deployment of a distributed application.
This tutorial was written for Linux systems.
However, it should also work on Windows and Mac.
Installation
In the scope of this tutorial, you will only use Roboconf’s administration. It is called the DM (which stands for the Deployment Manager). You will also use the HTTP messaging (i.e. agents and the DM will communicate through web sockets).
Download the DM on this page. You will need a Java Virtual Machine to run it (JDK 7).
To install it, unzip the archive. It may be better to prefer the *.tar.gz archive, since this format preserves
file permissions.
That’s it.
HTTP is the default configured messaging implementation. It fits perfectly for new beginners, although
it is not tailored for production environments. For such environments, RabbitMQ
is the recommended solution.
Administration
Now that installation is over, let’s explore the configuration and the available commands in the DM.
The DM is a set of Java libraries, and more exactly, as OSGi bundles.
The DM is packaged a Karaf distribution. It means you have downloaded
an OSGi server with everything installed and ready to be used.
Start it by executing bin/karaf.
A new shell should appear. You will use it to enable or disable Roboconf extensions.
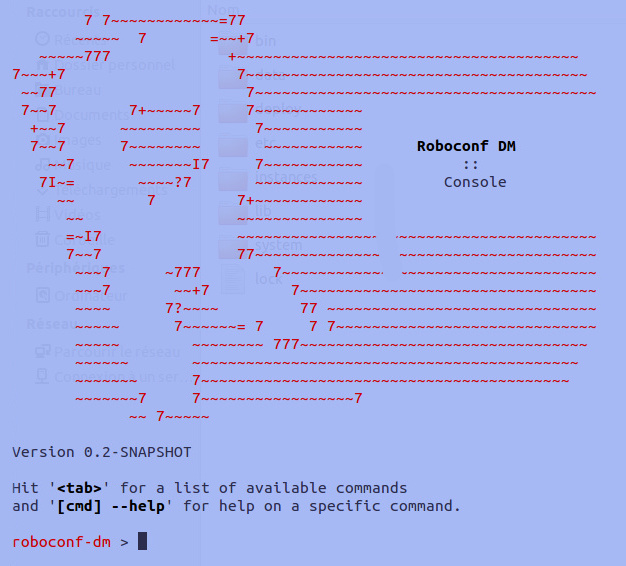
Type in the following command.
bundle:list
This command lists all the deployed bundles.
Notice that some are marked as started, while others are only installed. This is the case of extensions
that are related to deployment infrastructures (Amazon Web Services, Openstack, Docker…). Nobody use all these
infrastructures at the same time. So, it is better and more optimal to only enable those that are required.
Type in this new command.
feature:list
This command lists features, that is to say, groups of bundles.
Most of them are not installed. Those that are installed have their bundles listed by the bundle:list command.
Beyond this command line interface, Karaf provides various features that the DM uses. You will find logs under the data/log directory. And the configuration of the various services is located under the etc directory. Their properties can be updated at runtime. It means the changes are applied without rebooting the platform.
Web Console
Karaf comes with a web console.
By default, it is available at the following address: http://localhost:8181/system/console.
Default credentials are karaf / karaf.
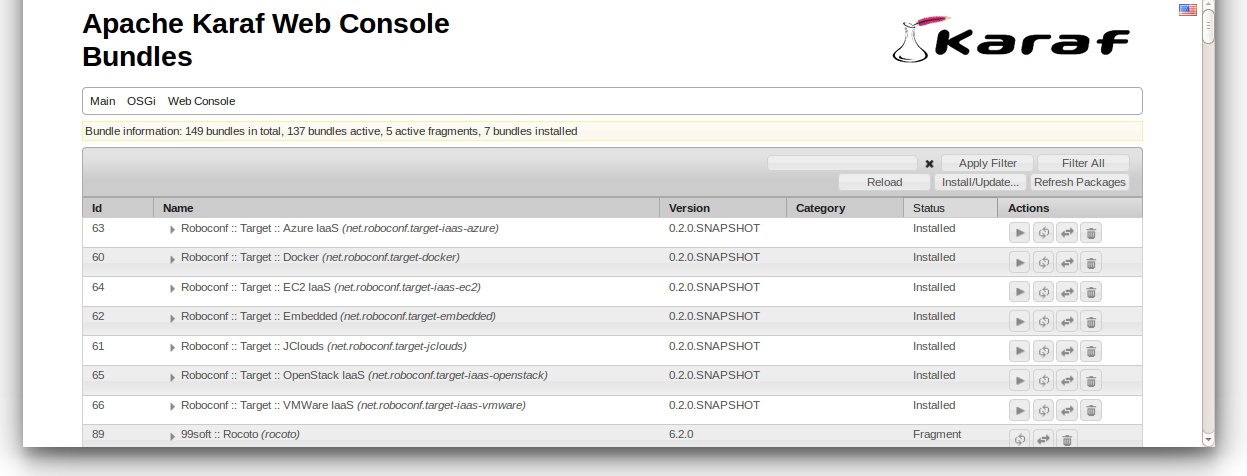
You should not have to use it in this tutorial. But is is always useful to know it exists and that it is here.
Preparing the Simulation Mode
Before deploying your first Roboconf application, you need to prepare the platform to use the simulation mode. This requires some additional bundles to be installed.
Hopefully, Karaf allows to deploy bundles directly from Maven repositories.
Roboconf also provides built-in shell commands to ease their installation. Type in roboconf:target in-memory.
This will download the required bundles, install and start them.
List the bundles and verify they are started (and not just installed).
Check also Roboconf’s logs. You should find the following mention…
Target handler 'in-memory' is now available in Roboconf's DM.
When you started the in-memory extension, it was automatically detected by the DM. The exact term is that it was injected into the DM’s main class. If you stop the bundle, the extension will be unregistered. Several Roboconf features can be enabled or disabled in this way.
First Roboconf Application
You are now going to deploy your first Roboconf application.
Download it here. It is a ZIP archive with a specific structure
(it always contains the following directories: descriptor, graph and instances).
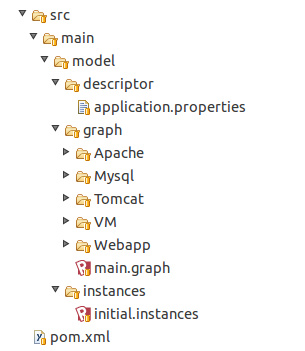
The descriptor part is quite simple to understand. But the graph one needs some explanations. Open the main.graph file. It defines Software components. And it contains the various relations that link them together. Roboconf knows 3 kinds of relations.
-
Containment: a Software component must be deployed on or within another one.
Ex: an application server must be deployed on a machine, an application must be deployed in a server… -
Runtime: a Software component uses and depends on another one.
Ex: an application relies on a database, it cannot work without it. -
Inheritance: a Software component is similar to another one, or adds new properties.
Ex: a database for clients and another one for products. In both cases, we can have the same solution. Same version, same installation, same start process, etc. But they have different roles and a different name to distinguish them. Inheritance is a way of reusing things in a graph.
Observe the file that the defines the graph.
There is no inheritance in this example. Containment relations are defined through the children keyword.
Runtime relations are defined through the imports and exports keywords. They define variables that will be exchanged
between Software blocks at runtime. This is where the messaging server is used.
Then, notice that for every Software block (Roboconf component), there is an eponym directory.
Every directory contains recipes (or resources) to deploy the component. Recipes handle the entire life cycle of the component
(deploy, start, stop, undeploy). They also react to dependency changes. Thus, Roboconf guarantees that if a dependency disappears,
the component will be stopped. It will be restarted as soon as all the dependencies are resolved.
Dependency resolution is useful for massive concurrent deployment.
Dependencies are resolved asynchronously by Roboconf. This mechanism is also used to manage elastic deployments on platforms that rely on Roboconf.
The way recipes are written depends on a component property called installer. As an example, if a component uses the bash installer, then Bash scripts are used to handle the component’s life cycle. If it is the puppet installer, then a Puppet module is used. And so on…
Eventually, take a look at the instances root directory (in the archive).
The graph is in fact a set of rules, just like a meta-model. You have to define instances then. A (component) instance
is a Software block that is or will be deployed somewhere. When you use Roboconf’s web administration, you manipulate instances.
First Deployment
You must have noticed in the graph there is a component called VM. It is associated with the target installer. Basically, this is you target machine. Where this will be concretely deployed is managed in the properties files under graph/VM/.
For this tutorial, we want to deploy in-memory.
It means we will not deploy our application for real. Instead of creating a virtual machine,
we will simply launch a Roboconf agent in memory. Tasks an agent would normally do (such as deploying and starting Software
components) will be simulated.
Proceed as follows:
1. Open your web browser and go to http://localhost:8181/roboconf-web-administration/index.html.

Follow the on-screen indications to create a new application and upload the archive.
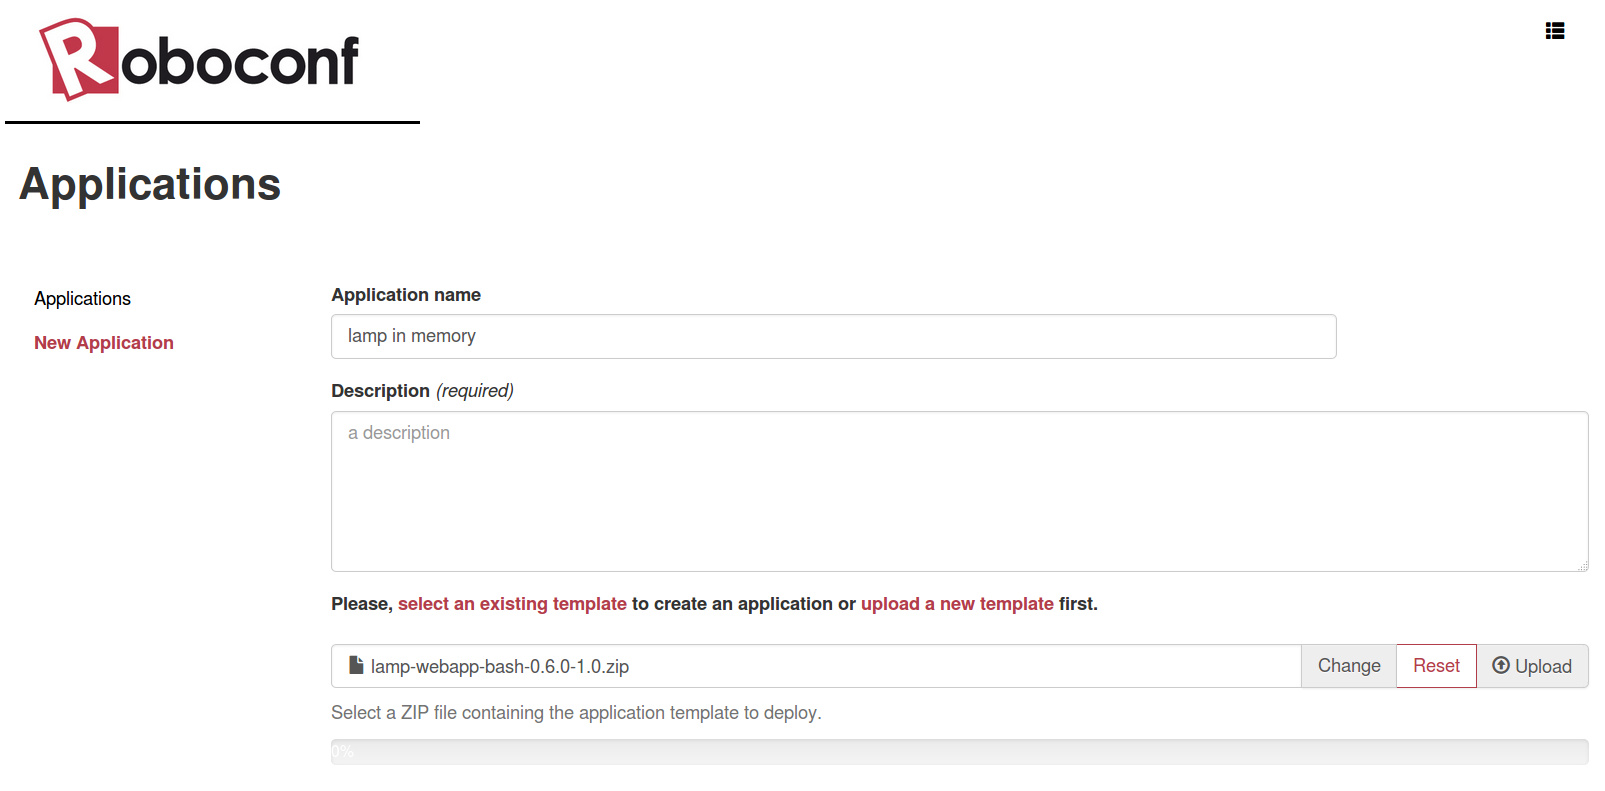
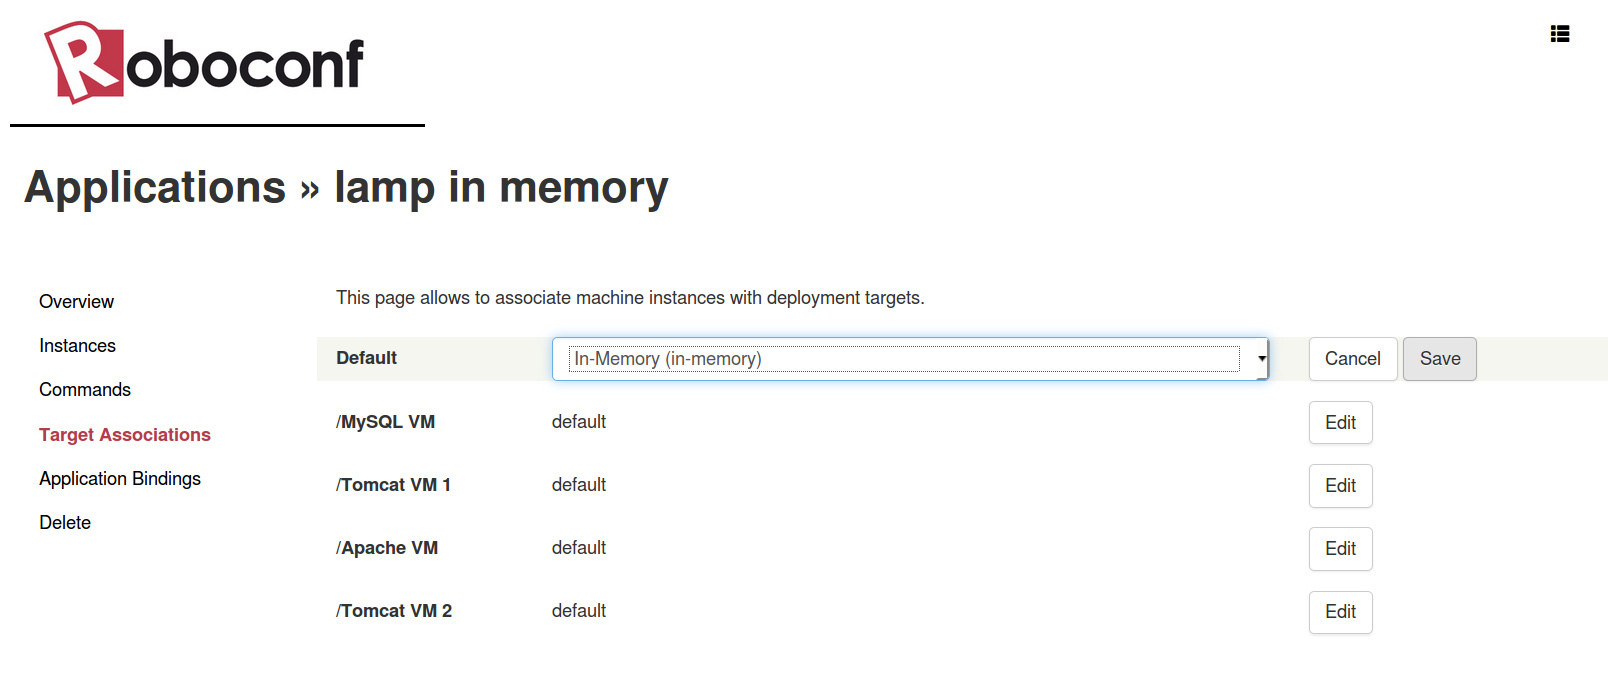
2. In the web console, click your application and go into the application targets sub-menu.
Set the default target to in-memory.
3. Go into the instances sub-menu and play with life cycle actions.
To manipulate a component, it is important for its parent (or container) to be deployed and started. The only exception is about root instances.
Root instances designate machines. They only know 2 states: deployed and started, and not deployed. The reason for this is that some virtualization
infrastructures do not support an intermediate state like deployed but stopped.
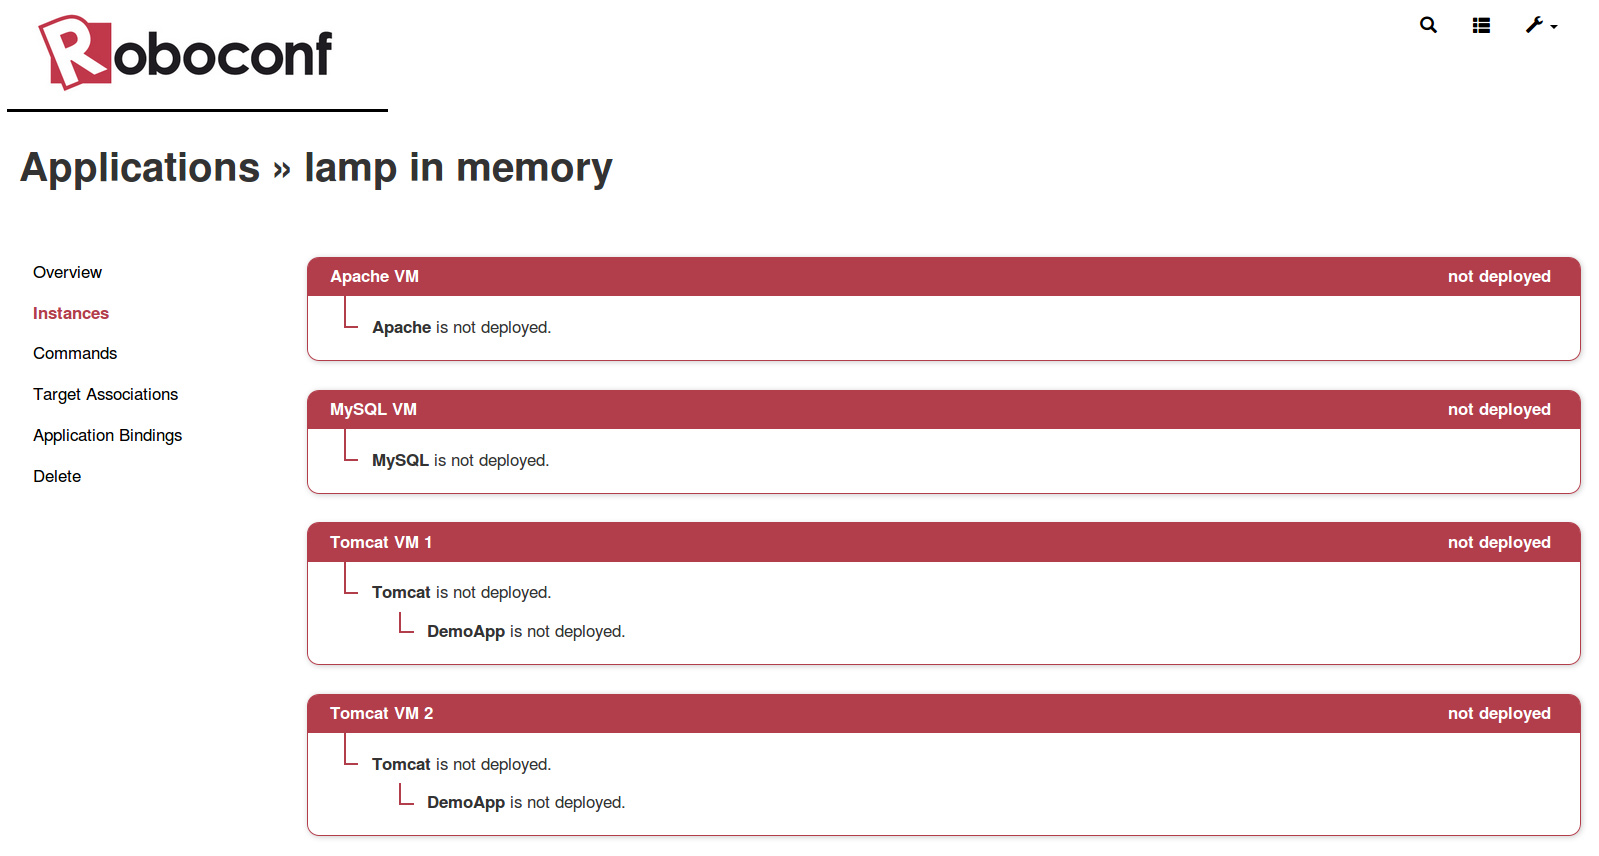
4. Test dependency resolution by trying the following scenario.
Make sure everything is not deployed first.
-
Deploy and start the load balancer.
The Apache server should remain in the starting state. This is because its dependencies (the web application) is not yet started. -
Proceed in the same way with the web application.
It should also remain in the starting state. This is because the database is not yet started. -
Eventually, deploy and start the database.
All the components should now be started.
Click to show how it works behind…
Every time a component is started or is stopped, it publishes notifications on the messaging server (RabbitMQ). Components that depend on it are thus notified of its state and of its variables (IP address, port, etc). The components (or Software blocks) do not deal with these notifications themselves. They are handled by Roboconf agents. There is one agent per machine. Here, agents run in memory (simulation mode). With real deployments, the agent must be installed on the remote machine and run (ideally, it should boot with the system). All of this can be made automatic, in particular with virtualization platform and cloud computing infrastructures.
A last element to detail is what happens when you trigger an action from Roboconf's web administration. Since we are here in a *simulation* mode, Roboconf only changes components states. On a real infrastructure, agents would also execute the recipes that come along with the graph. Notice also that a user action is not always followed by a concrete action. When a user clicks somewhere in the web administration, it only sends a request to the right agent. Validating, executing or even dropping this request is the responsibility of the agent.
Hide these details...Conclusion
You have completed the first Roboconf tutorial.
And you should now be familiar with the DM, its installation and its command.
You played with the command line interface and roboconf’s web administration. Eventually, you also studied and
deployed a first application with Roboconf.
You can now try our next tutorial, which consists in deploying this application for real on local Docker containers.