Tutoriel - Premier Déploiement dans le Cloud - 1/4
Configuring Amazon Web Services
If you do not have one, create an account on AWS.
Choose the basic offer. The first year is free, provided you respect some quotas.
You are indeed limited to small virtual machines and you cannot exceed 750 hours per month (otherwise, you will be billed).
This will be widely enough for this tutorial.
Go into AWS’s web management.
If necessary, change your geographical area (in the top menu on the right).
This area determines the URL to access Amazon’s REST API. As an example, for the EU area (Ireland), this URL is
ec2.eu-west-1.amazonaws.com. This is important because you will use this URL in the configuration files.
Then, go into the account menu to edit your security settings.
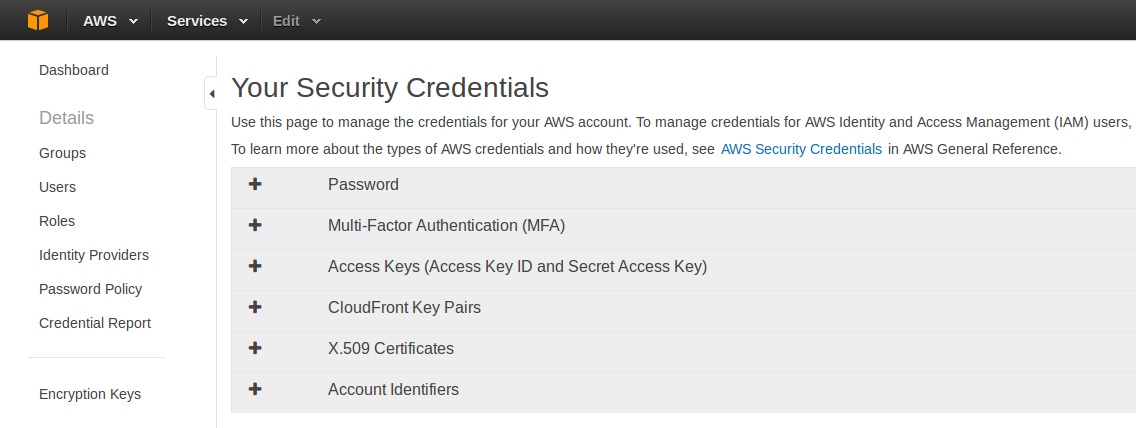
Create new access keys.
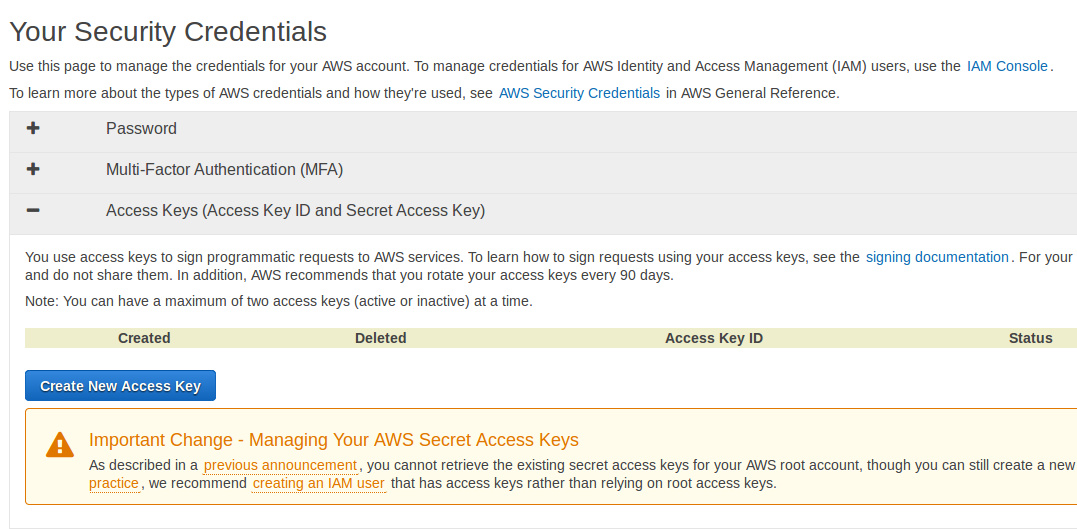
Download this information as a CSV file.
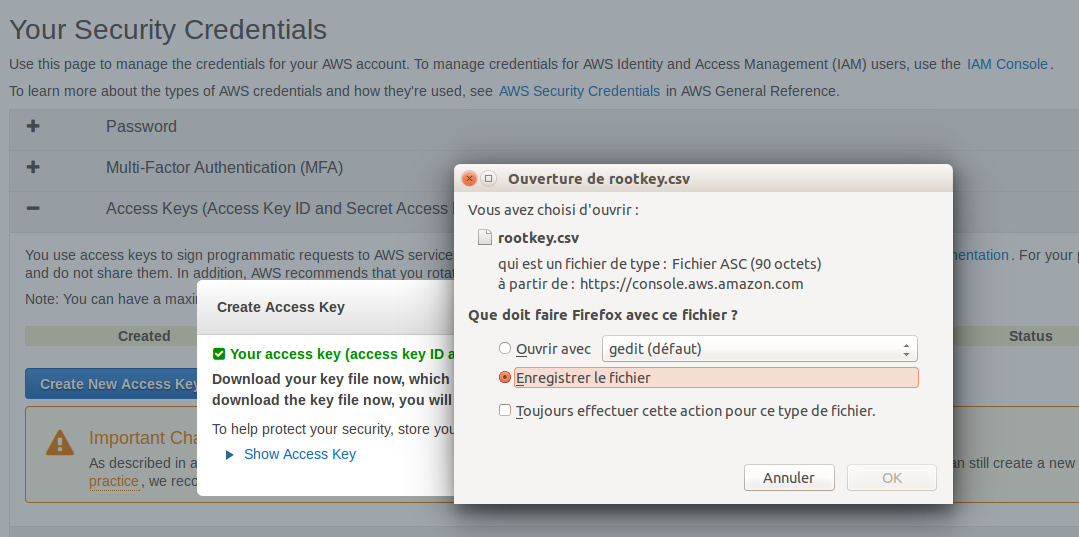
This file contains the key identifier, as well as a private key that will be used later.
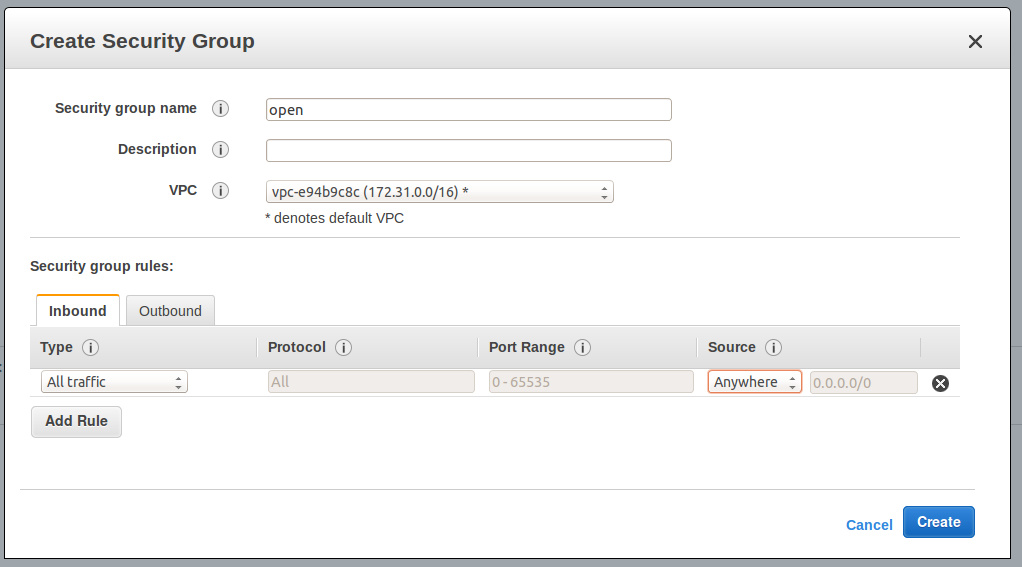
Go into the EC2 interface, in the Security Groups menu.
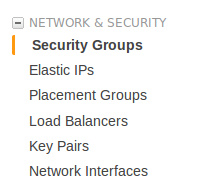
Create a new group and call it open. To keep things simple, allow any connection (you will be able to optimize it later).
Eventually, go into the Key Pairs menu and create a new key pair.
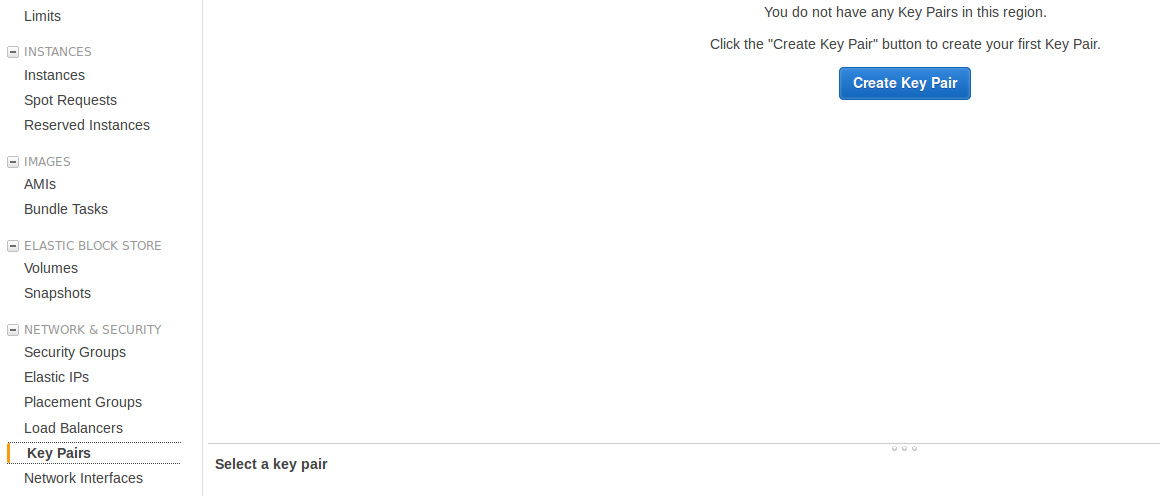
This key will be used to connect in SSH to new VMs.
Save this pem file on your local machine. You will pass it as a parameter in your SSH command.
Preparing the Configuration Files
Create a new file called target.properties.
Copy the template below and update it with the information that comes from your AWS account.
All the properties can be completed here, except ami. This last one will be set later.
# Tell the agent it will run on EC2
handler = ec2

# EC2 access
ec2.endpoint = ec2.eu-west-1.amazonaws.com

# Connection credentials
ec2.access.key =
ec2.secret.key =

# VM configuration
ec2.ami	=
ec2.instance.type = t1.micro
ec2.ssh.key =
ec2.security.group	=
Be careful about not publishing your AWS credentials on a public location (e.g. GitHub).
Instructions will be given later about this.
Cleaning
During the first year, Amazon offers you 750 free hours per month (for small VMs). However, quotas can quickly be reached. Do not forget about destroying your virtual machines when you do not use them anymore. Otherwise, you will be billed.
A that end of the tutorial, think about…
- … stopping all your VMs.
- … deleting all your storage snapshots.
The image below shows where you can find the storage snapshots in EC2’s web console.
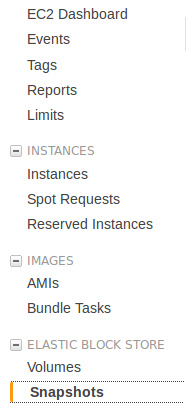
The author of this tutorial was already billed for 1 € because he forgot
to delete storage snapshots. Do not forget to delete them.
You can now go to the next step, the installation of a Roboconf agent.