Tutorial - First Deployment in the Cloud - 2/4
Installer l’Agent Roboconf
Install the DM and RabbitMQ.
You should have already done this in the getting started with Roboconf.
Since you are going to deploy in the cloud, it is Roboconf that will interact with the cloud infrastructure to create (or delete) virtual machines. You will also need a Roboconf agent on every machine that will be created. To achieve it, you have to create a virtual image with the Roboconf agent installed on it. To work with Roboconf, new VMs will be instantiated from this template.
A Roboconf agent is available as an OSGi application, pre-packaged as a Karaf distribution (exactly like the DM).
First, create a new VM in Amazon’s web console.
Go into the Instances menu.

Click Launch, then select the operating system and the hardware configuration that will be used for the VM. Use Ubuntu Server as the base image. Use the small flavor (otherwise, you will be billed).
You will sometimes have to connect to your VMs with SSH.
As a reminder, the command to use is ssh -i /path/to/your.pem ubuntu@ip-address
Then, you have 2 options.
Either you install everything by hand, or you use
a script to upload, install and configure the agent.
Once the agent is installed, your VM should be operational.
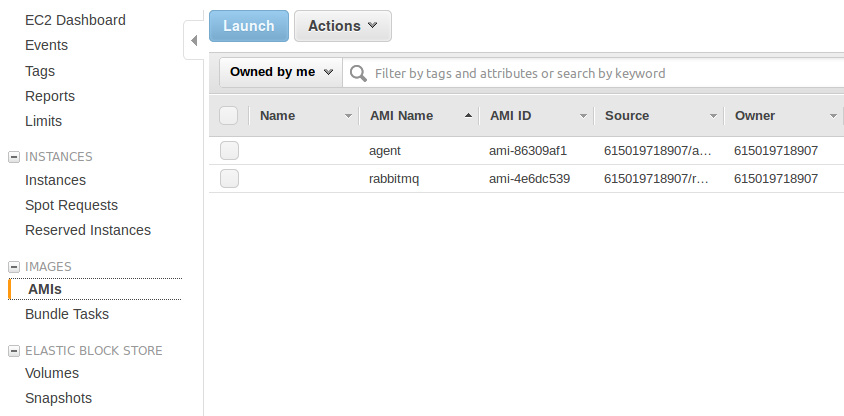
If you restart it, the agent will boot with the system. Then, go to Amazon’s web console and create a snapshot image of your VM.
Wait for the operation to complete and get the image’s identifier. Open your target.properties file and report the identifier
value in the ec2.ami property.

From now, every time Roboconf will create a new VM, it will be instantiated from this image with a running Roboconf agent.
This agent will interact with the DM. You can now deploy an application on AWS.